Adding the QAX-IGEL Files to the UMS Console
Follow the steps for each file to properly add the QAX-IGEL files to the IGEL Universal Management Server Console.
Adding the qax.inf File
Follow the proceeding steps to add the qax.inf file to the Files section of the IGEL UMS Console.
Open the IGEL UMS Console.
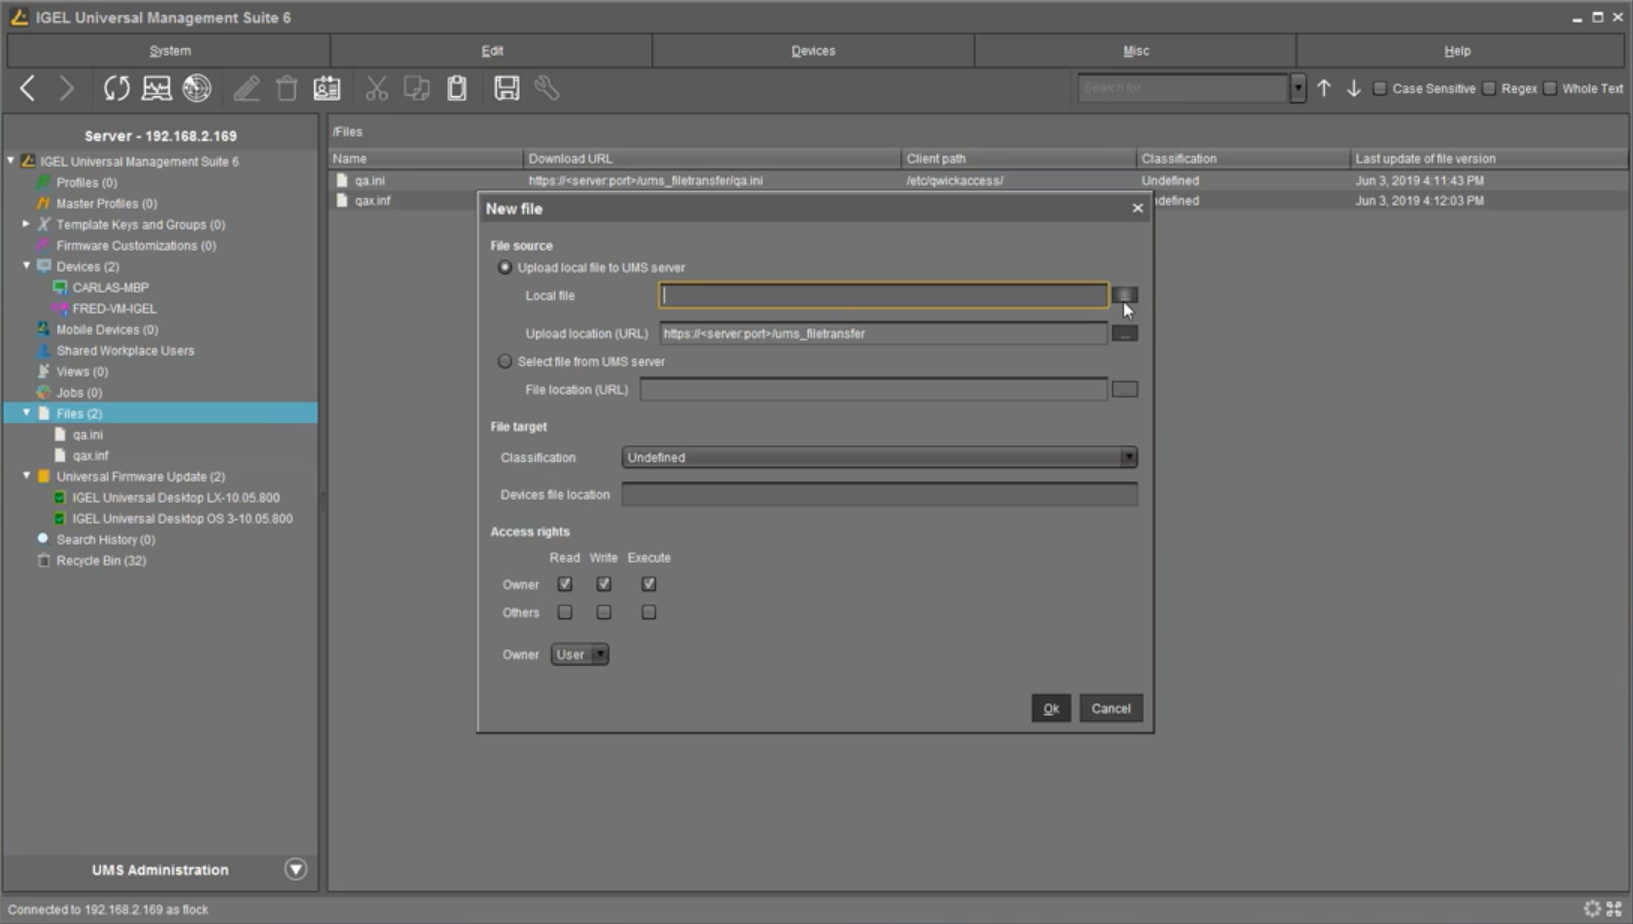
Right-click on the Files section from the left, side panel and select New File.
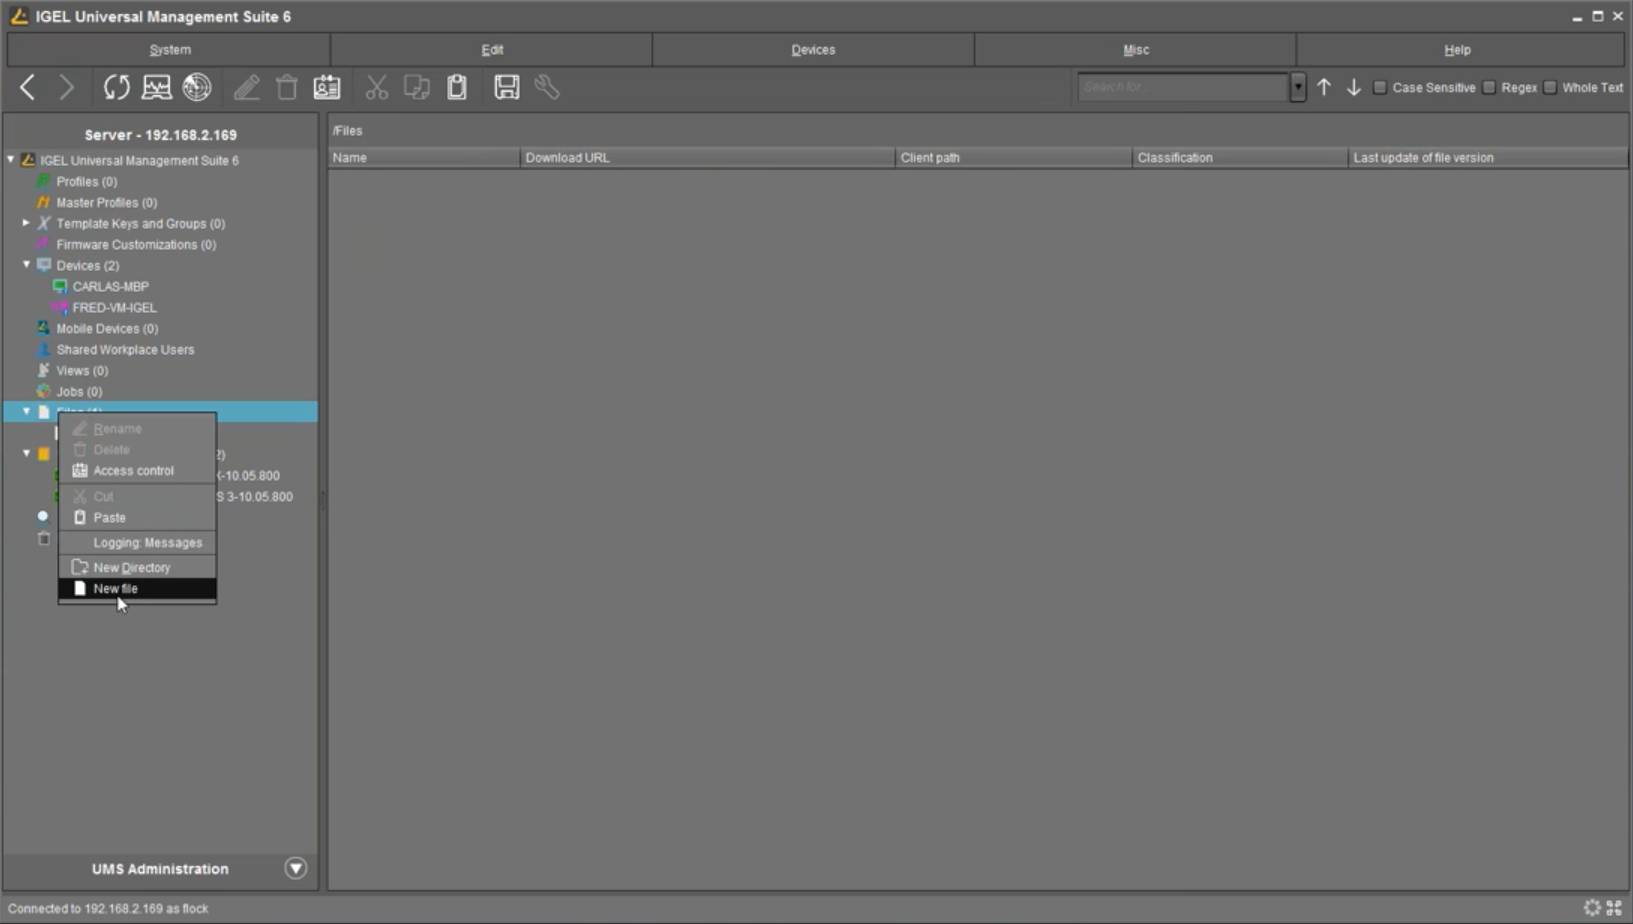
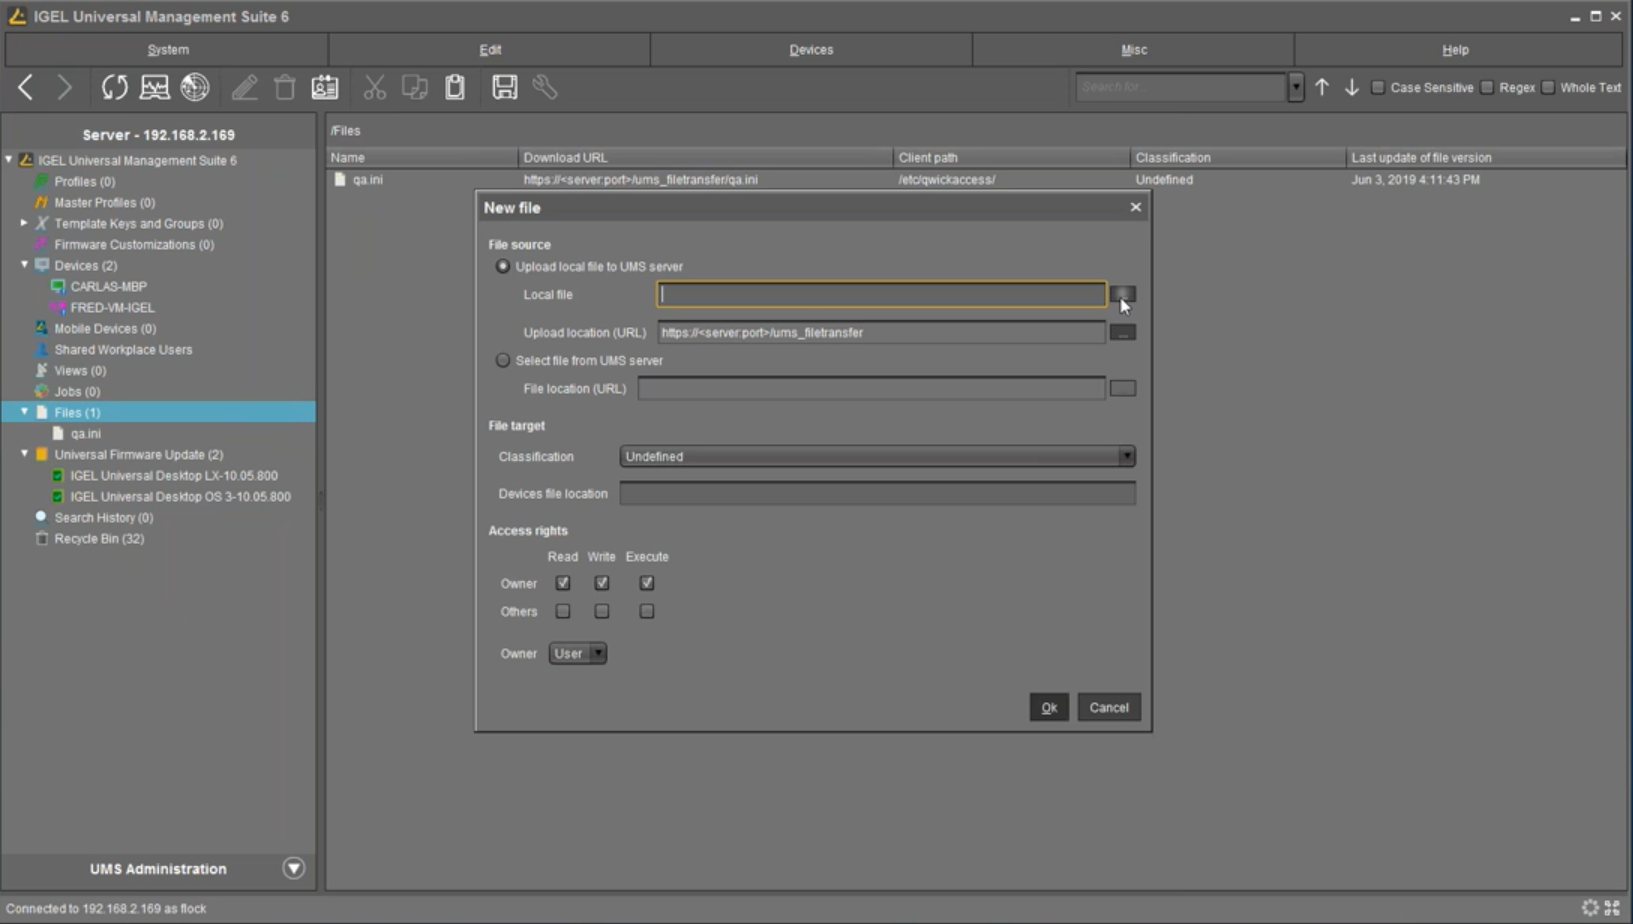
Leave the option for Upload local file to UMS server selected and click on the three dots to the right of the Local file box.
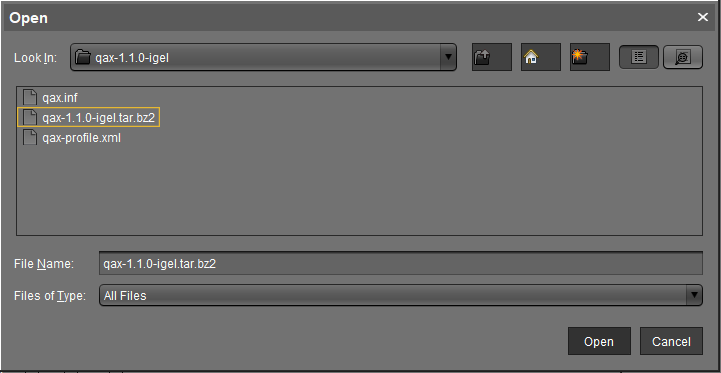
In the Open box, navigate to the qax.inf file.
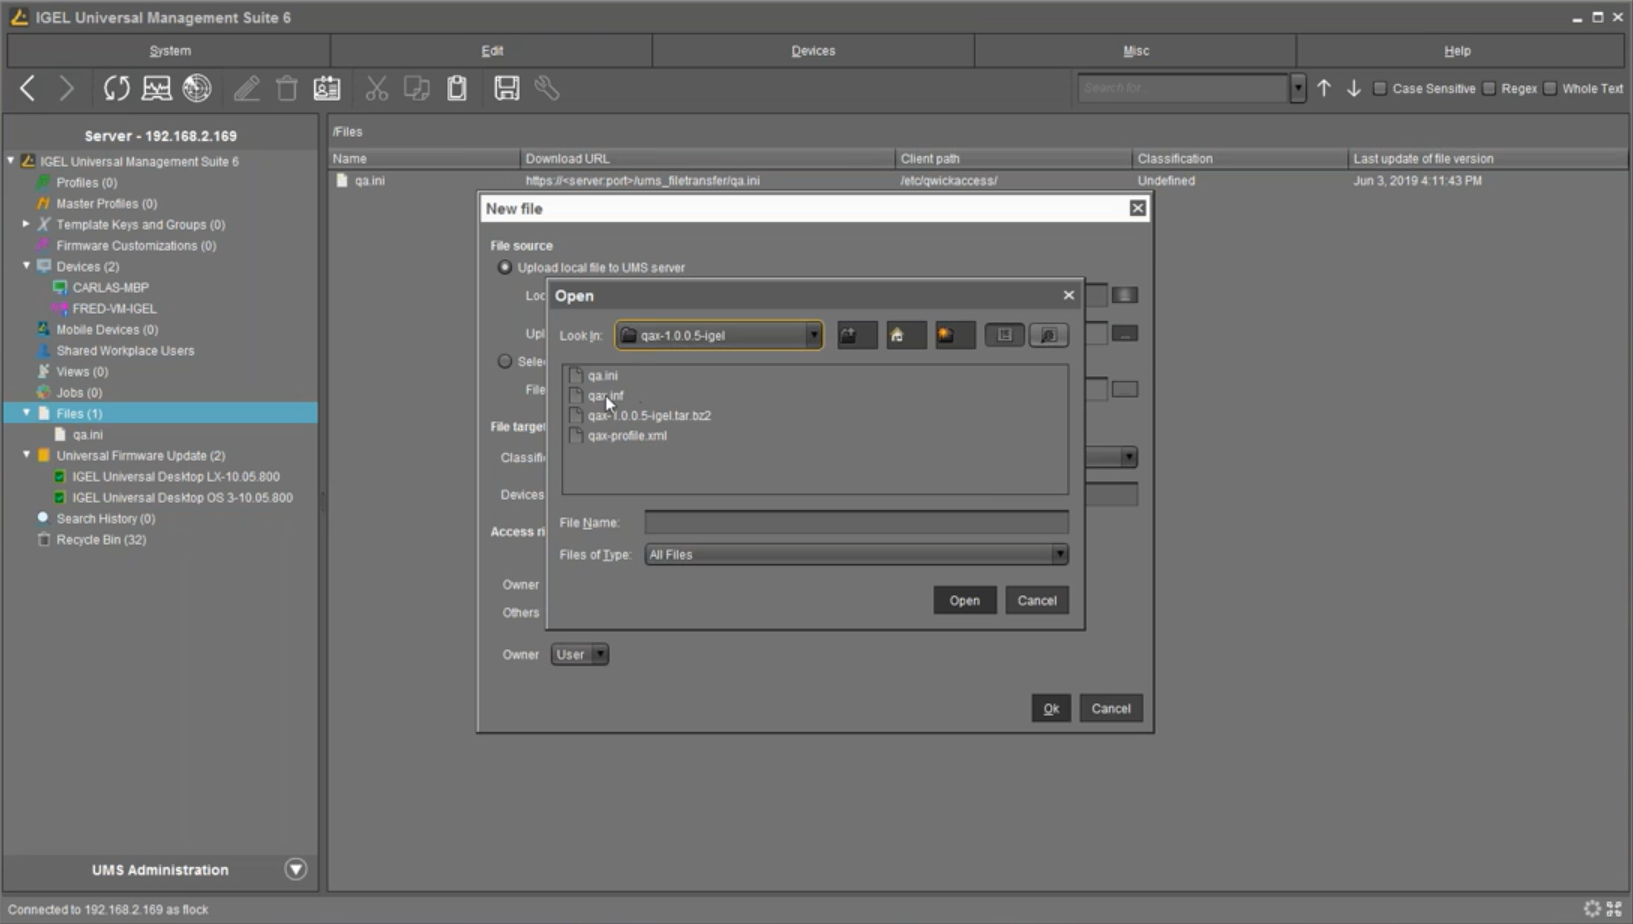
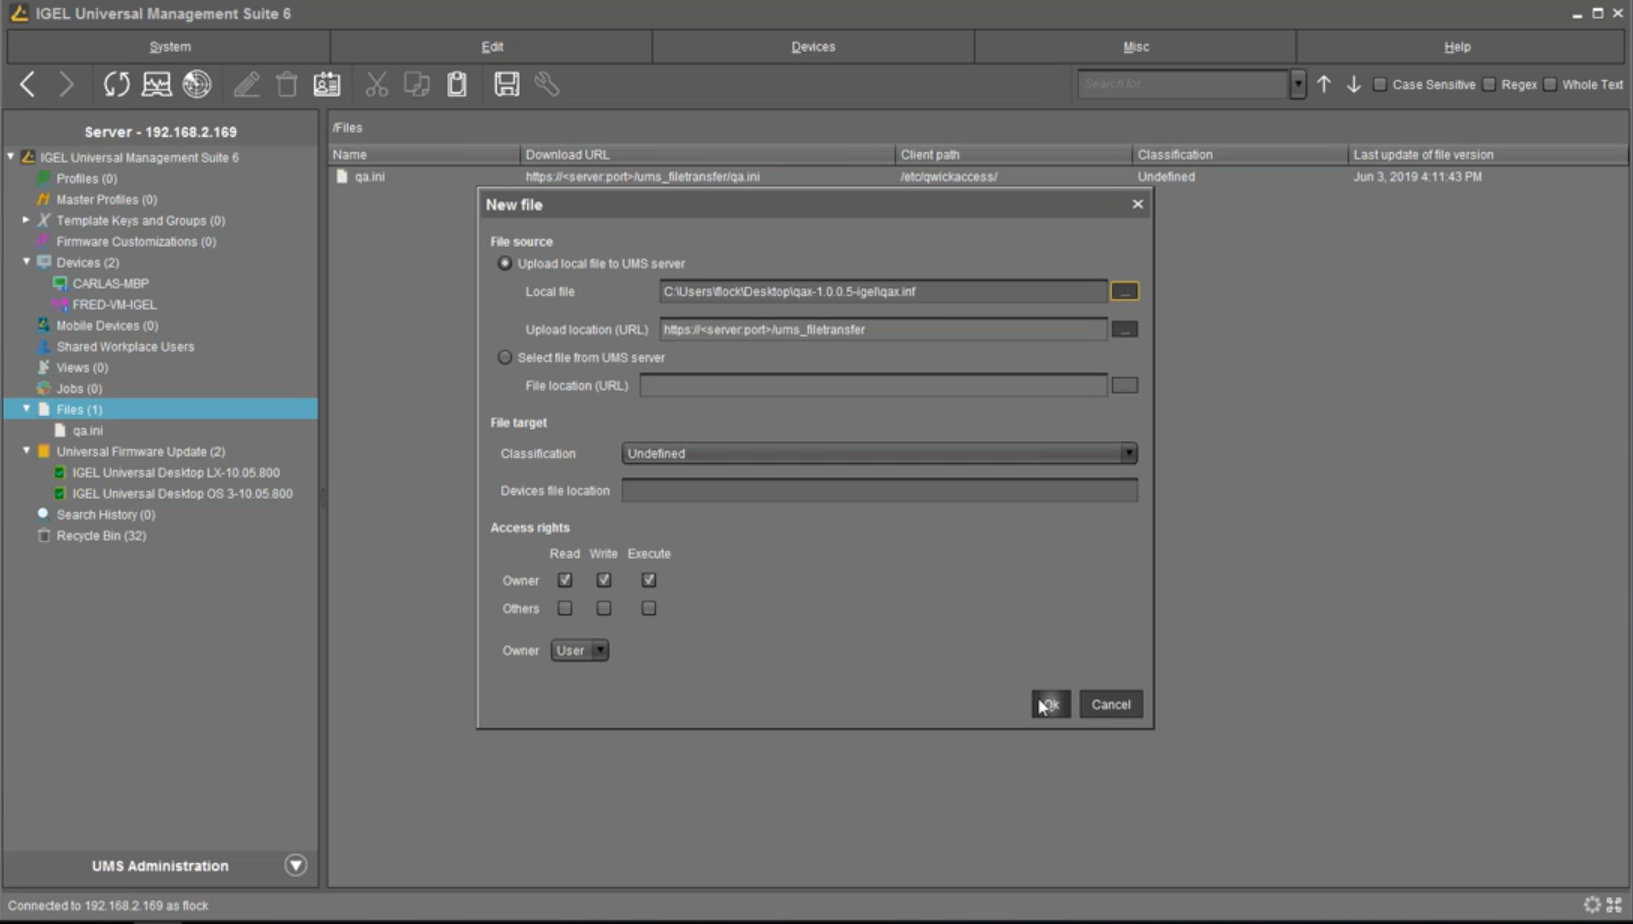
Select qax.inf and click Open.

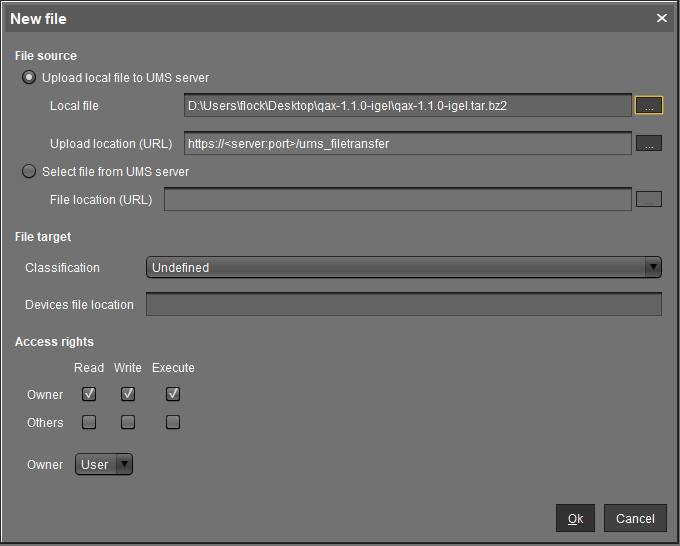
Click OK.
The qax.inf file will appear under the Files section upon completion.
Adding the Custom Partition File
Follow the proceeding steps to add the QAX-IGEL custom partition file to the Files section of the IGEL UMS Console.
Open the IGEL UMS Console.
Right-click on the Files section from the panel on the left and select New File.

Leave the option for Upload local file to UMS server selected and click on the three dots to the right of the Local file box.
In the Open box, navigate to the qax-1.1.0-igel.tar.bz2 file.
Note
The version number in the file name may differ from 1.1.0.
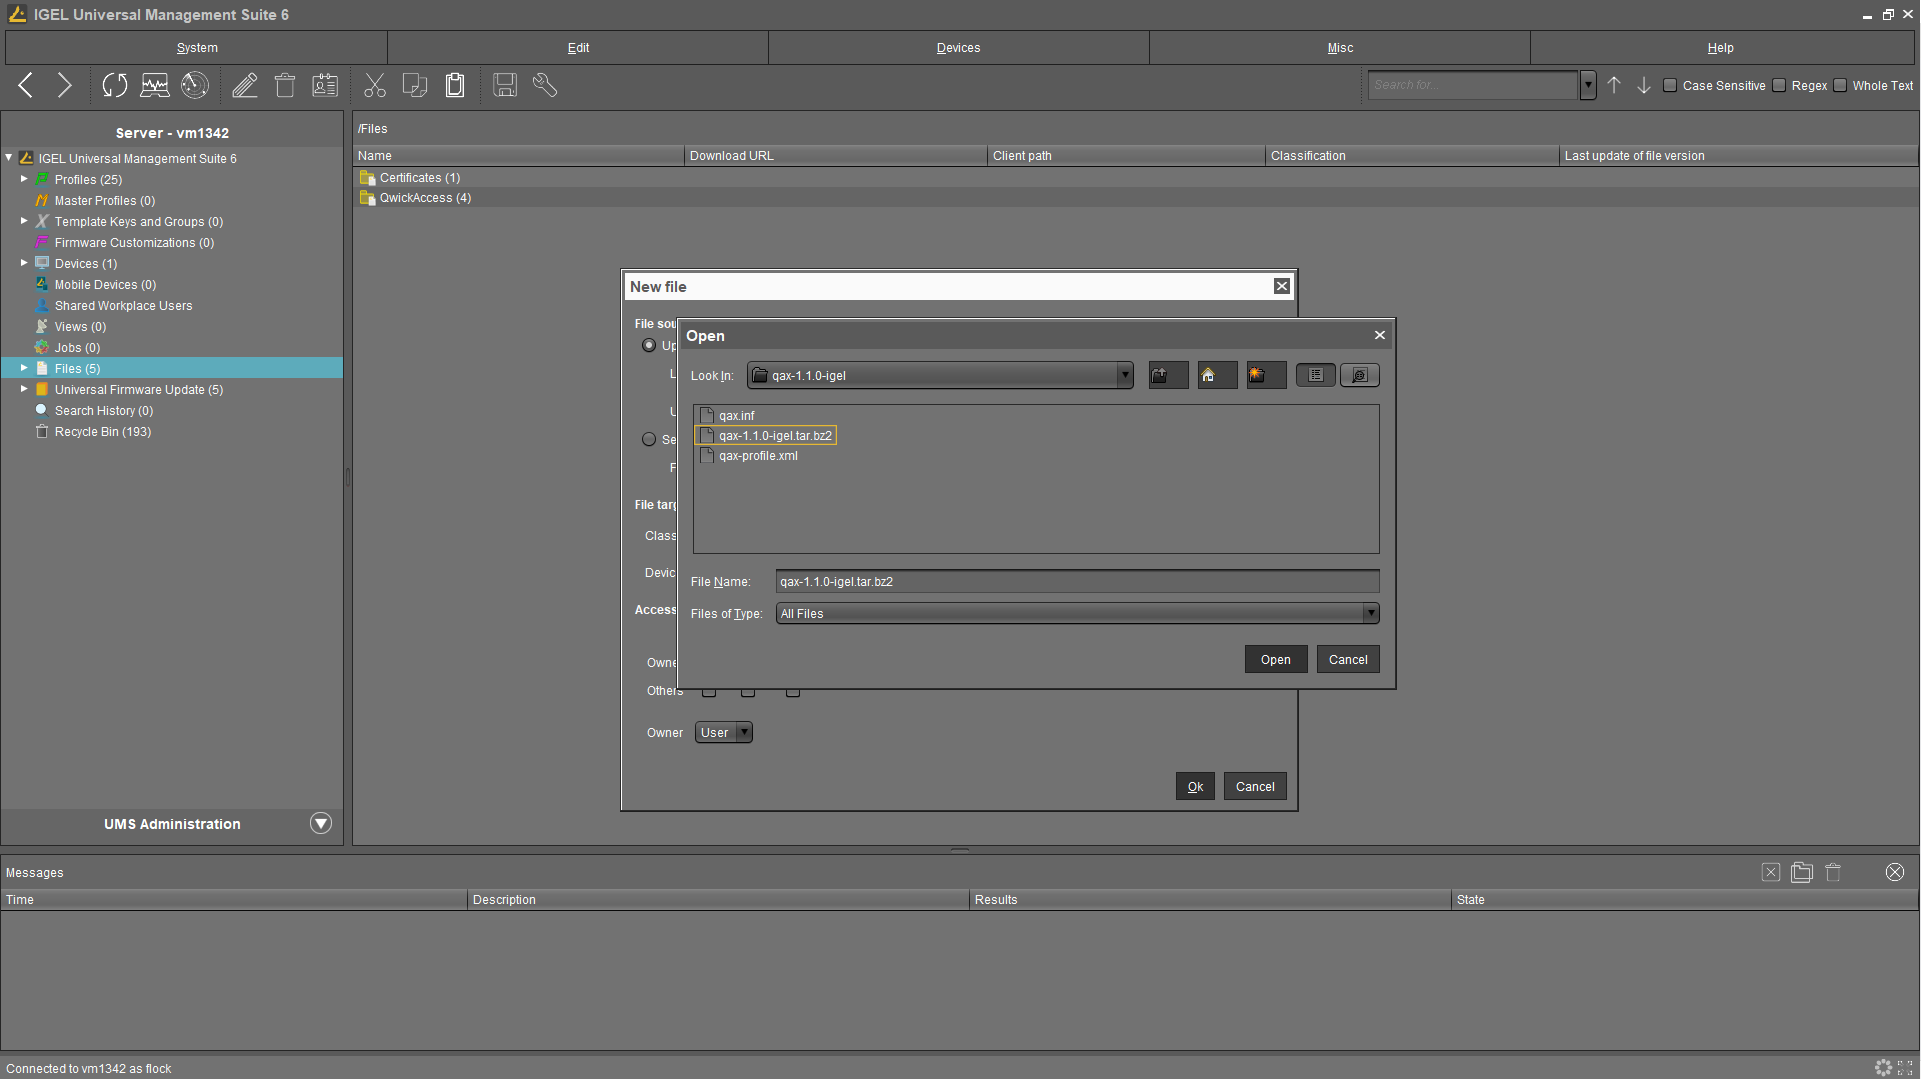
Select qax-1.1.0-igel.tar.bz2 and click Open.
Click OK.
The qax-1.1.0-igel.tar.bz2 file will upload to the UMS and appear under the Files section upon completion.
Importing the qax-profile.xml File
Follow the proceeding steps to import the qax-profile.xml file so that it can be accessed from the Profiles section of the IGEL UMS Console.
Open the IGEL UMS Console.
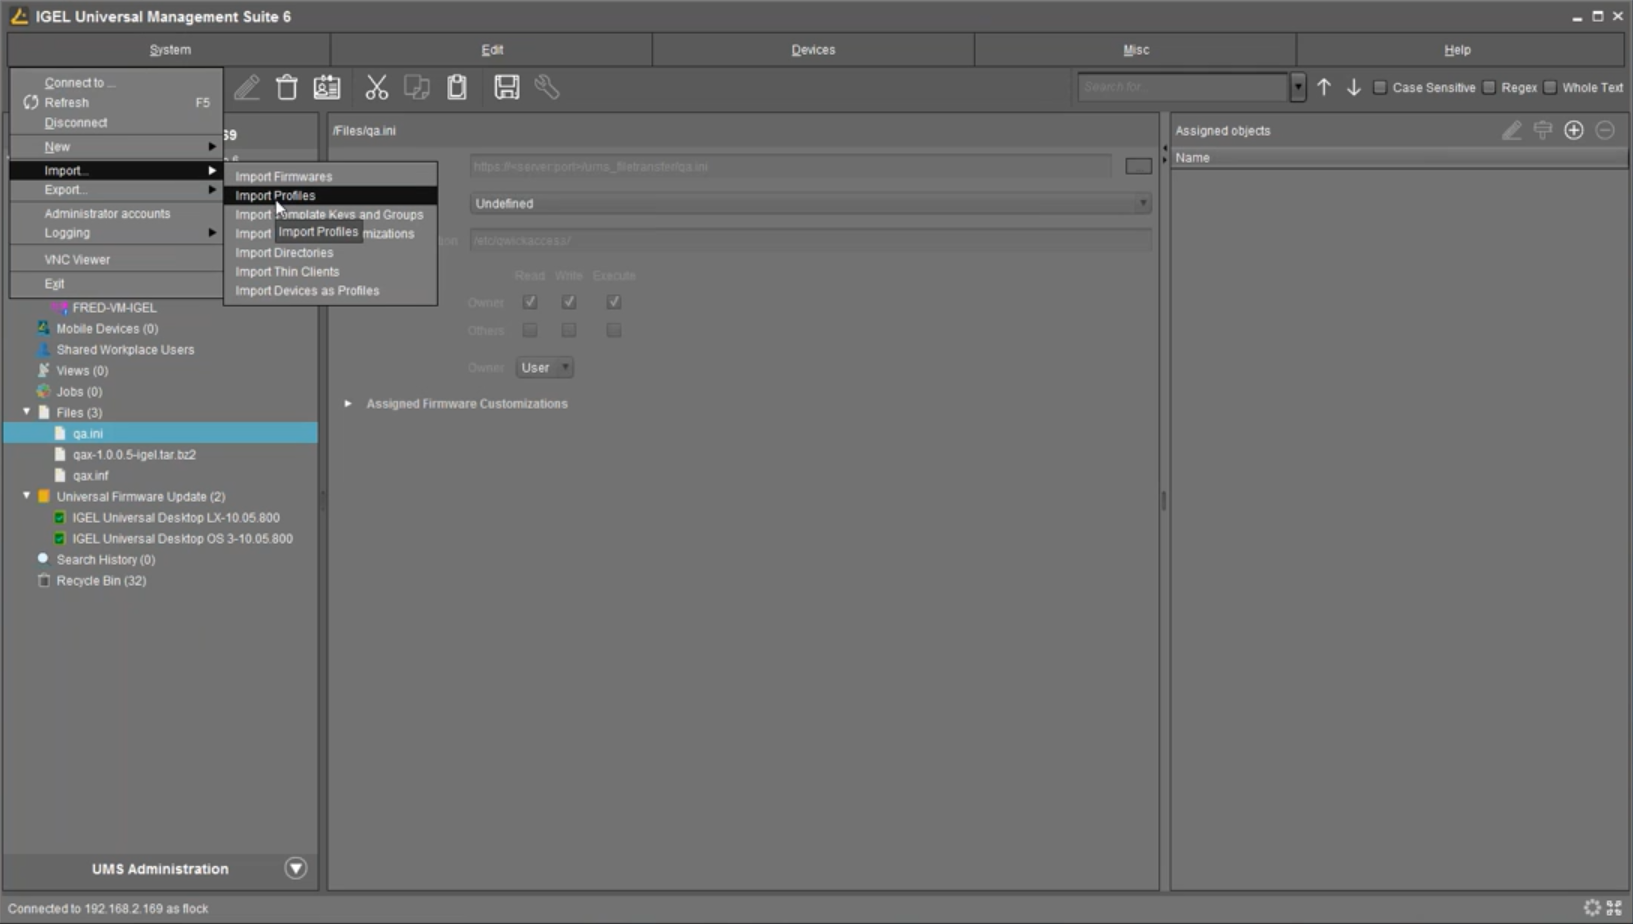
Click on System > Import > Import Profiles.
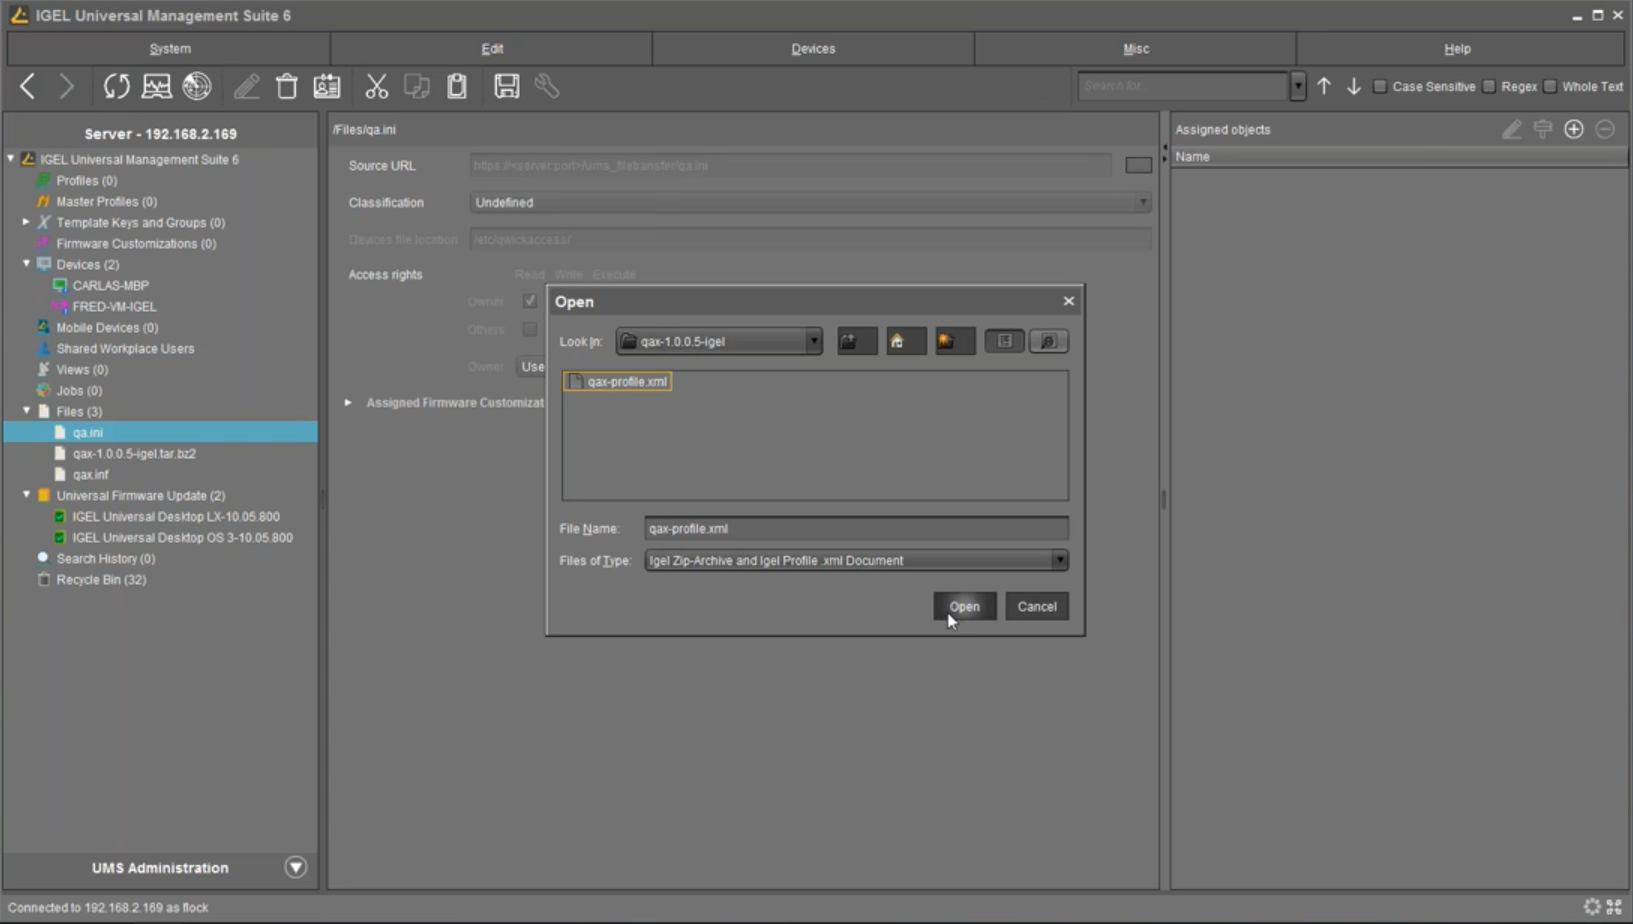
In the Open box, navigate to the qax-profile.xml file.
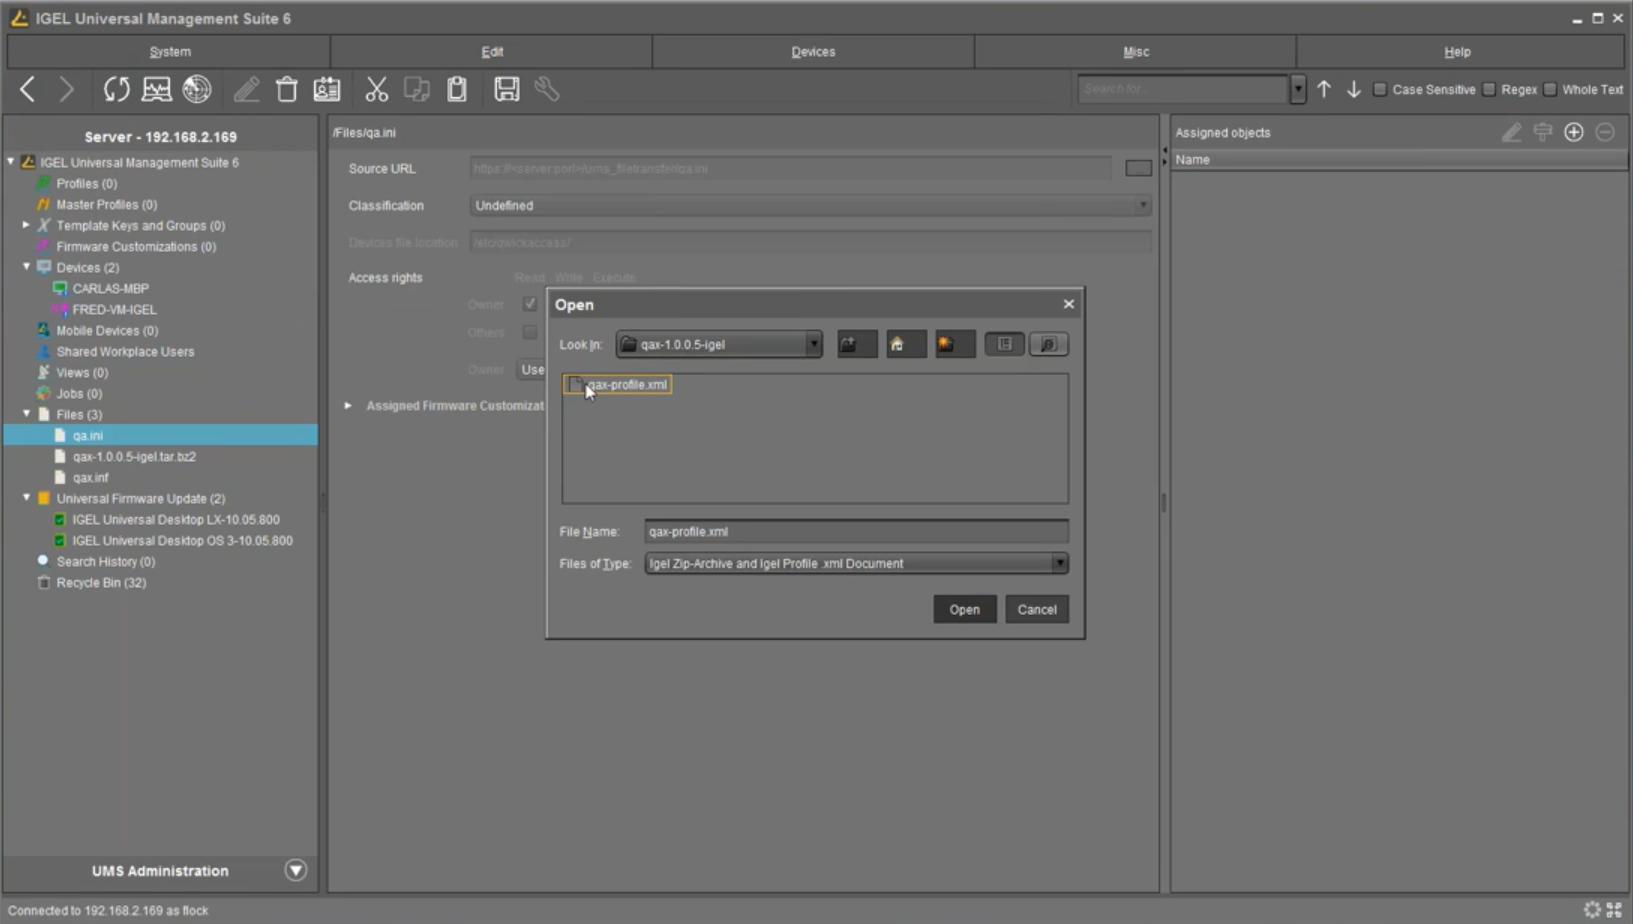
Select qax-profile.xml and click Open.
Click OK.
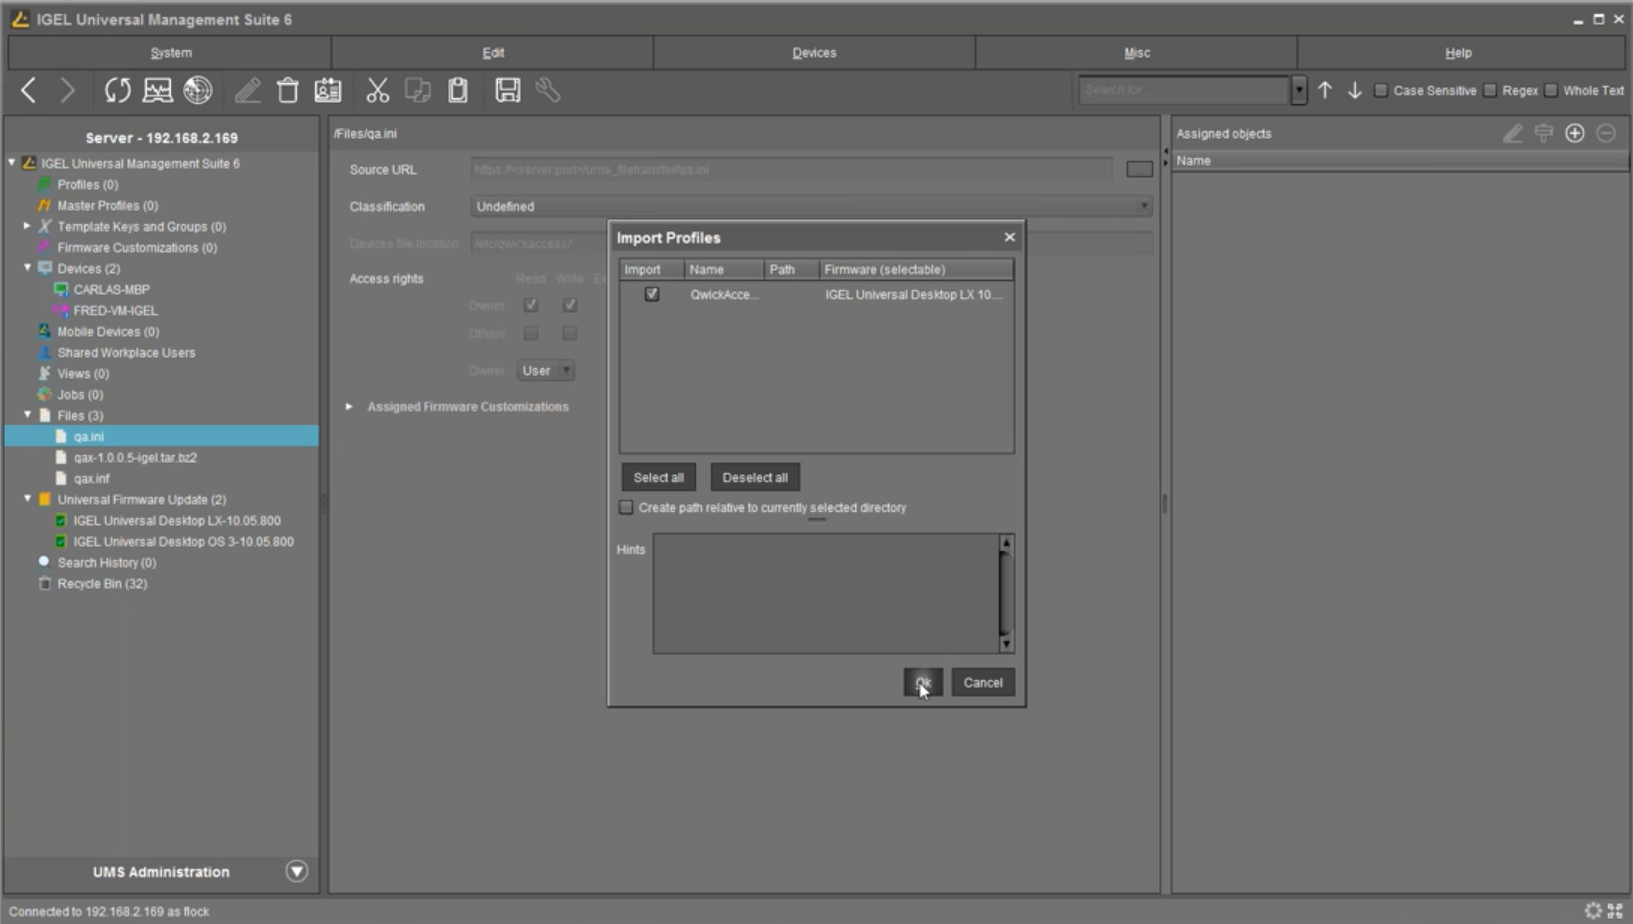
The QwickACCESS profile will appear under the Profiles section upon completion.
Configuring the QwickAccess Profile in UMS
Follow the next steps to configure the QwickAccess profile for your environment.
Citrix Store Site Address
Right-click on QwickAccess profile and click on Edit Configuration.
Click on Sessions > Citrix > Citrix StoreFront > Server.
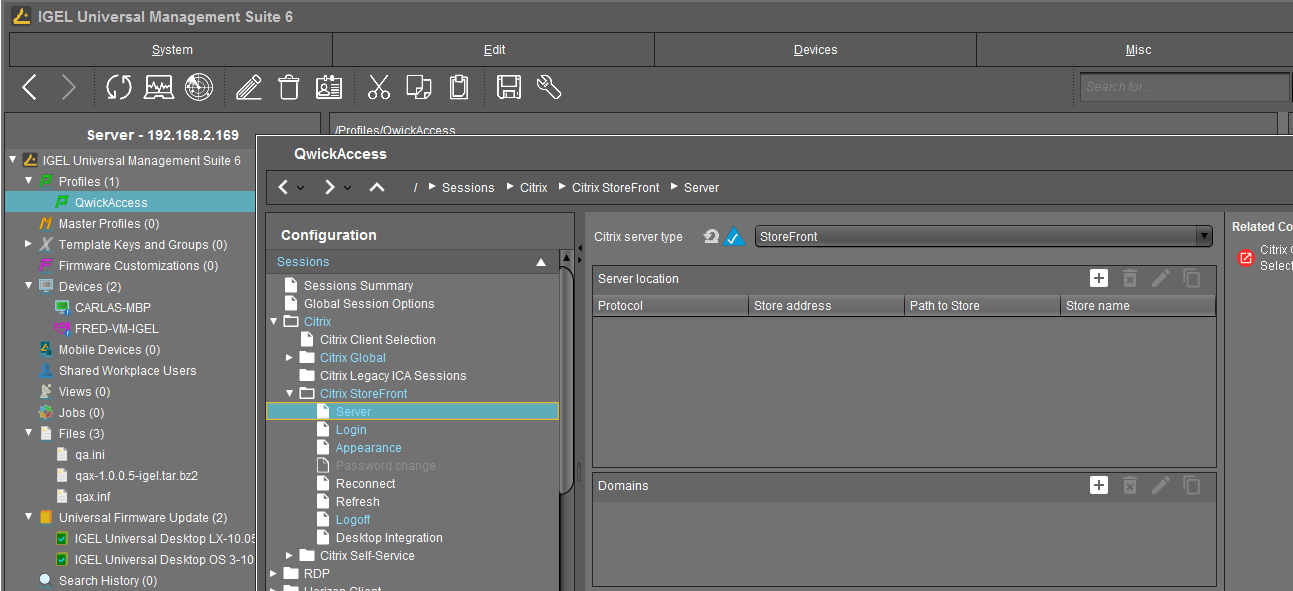
Make sure the "Citrix server type" drop down is set to "StoreFront"
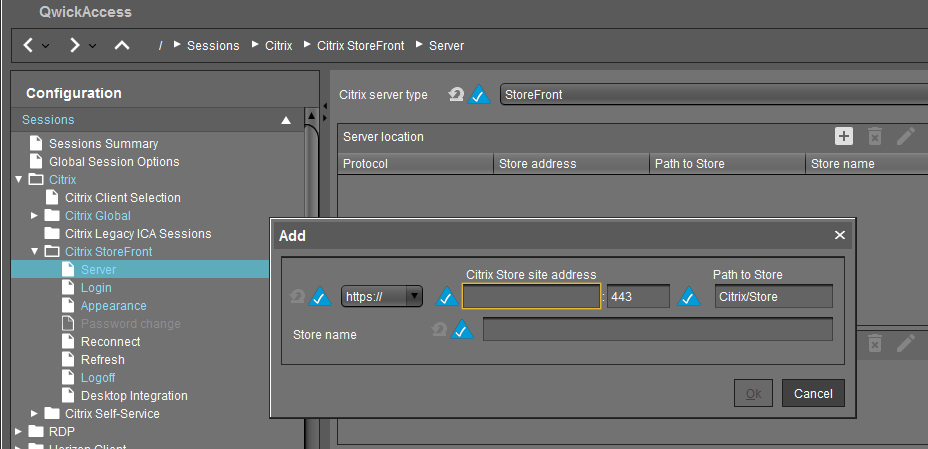
Enter the Citrix Store site address and click Ok.
Citrix StoreFront Login
In the QwickACCESS profile, click on Sessions > Citrix > Citrix Global > StoreFront Login.
Click on YOUR-AUTOSTART-RESOURCE-NAME-GOES-HERE to highlight it and then, click the Pencil icon.
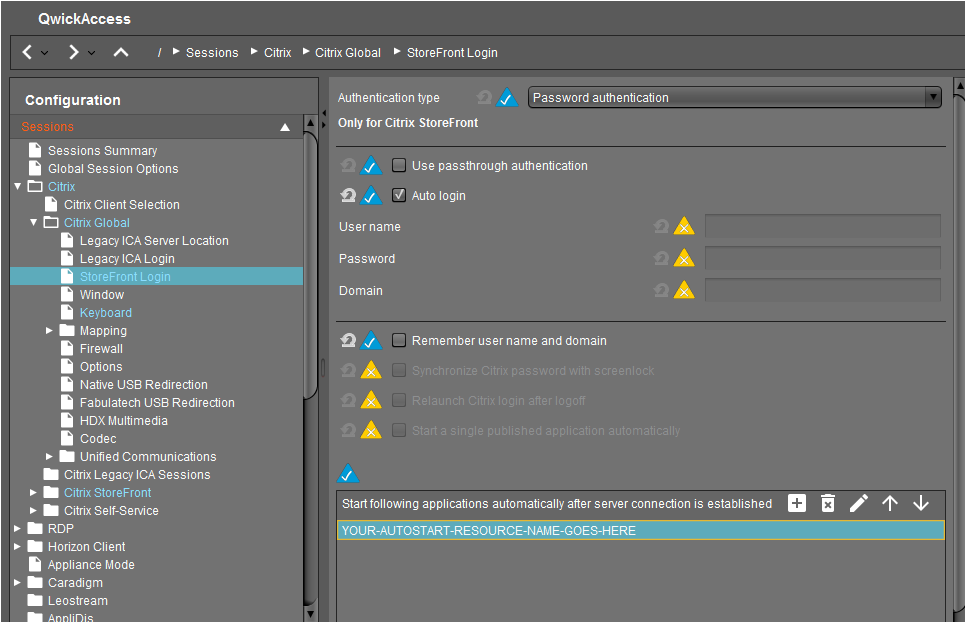
Replace the information in the Edit box with the name of the resource that you want QAX-IGEL to automatically launch when a user taps in and click Ok.
Note
The resource can be either a desktop or an app.
Custom Partition
Click on System > Firmware Customization > Custom Partition > Download
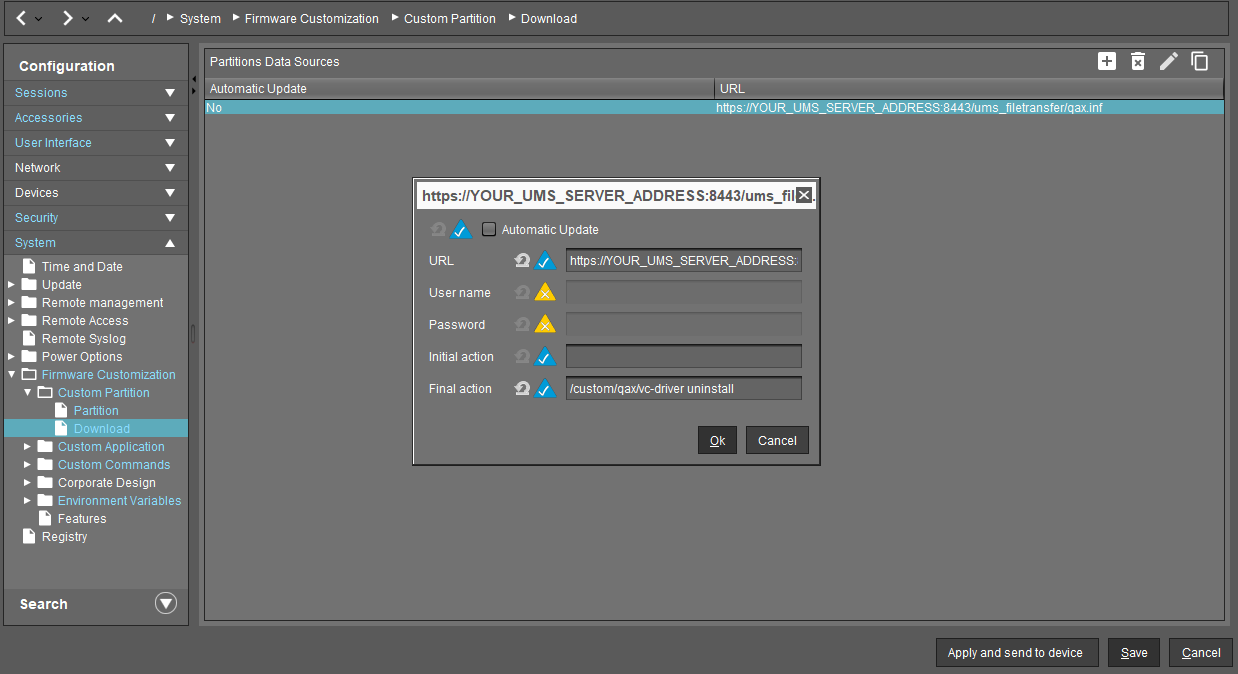
Click on the entry in the Partitions Data Sources, then click the pencil icon to edit the data source information.
Enter the URL for the qax.inf file.
Tip
Example: https://YOUR-SERVER:8443/ums_filetransfer/qax.inf
Enter the Username and Password for a UMS account that has privileges to download files from UMS. When the QwickAccess profile is applied to endpoint devices, the endpoint devices will contact UMS using the URL and Username and Password to download the qax.inf file which in turn downloads the qax custom partition.
Click Ok.