HealthCast EPCS Install on Citrix
Obtaining the API Key
In order to install HealthCast EPCS on Citrix, the API key needs to be generated from the RapidIdentity MFA Server first.
Follow these steps on obtaining the API Key needed to continue with the installation on Citrix.
Log into the RapidIdentity MFA Server and click on the Clients tab.
Select All Clients under the Lookup section on the left-hand side.
Select the appropriate Workstation GUID that was initially set up in the enrollment.
When the Client Details screen populates, click on the Edit button
Check box for Approved for API Calls.
Click Save.
The API Key needed to continue with installing HealthCast EPCS on Citrix is the information in the Workstation ID field.
Installing HealthCast ExactAccess Client on Citrix
Complete the HealthCast EPCS installation on Citrix by installing the HealthCast ExactAccess Client by following these steps.
Note
If the ExactAccess Client is already installed, run"C:\Program Files (x86)\HealthCast\ExactAccess\XAClientConfigure.exe" and ensure that an audit server is configured in the "auditSEVER" tab to match step 5c and skip the steps listed in this section.
Notice
These steps are focused narrowly on setting up the ExactAccess Client to configure an audit server. Please visit the HealthCast ExactAccess documentation for details on Installation and configuration options.
Open a command window as administrator.
Change directory to where "HealthCast eXActAccess Client x64.msi" file is located.
Run the following command line: "HealthCast eXActAccess Client x64.msi"
The InstallShield Wizard Welcome Screen will populate. Click Next.
Click Next on the Installation Wizard screen.
The HealthCast ExactAccess Client is ready to install. Click Install.
When the installation is completed successfully, the ExactAccess Client Configuration screen will populate. Make the following changes to this section.
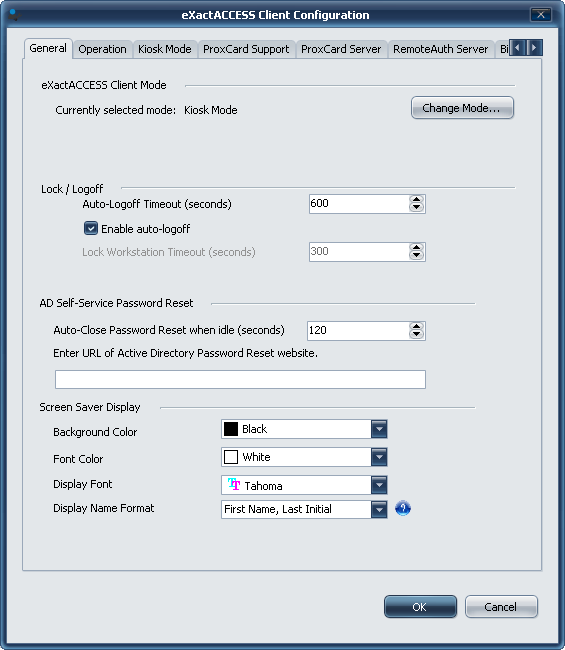
On the General tab, click Change Mode and change it to Kiosk and click OK.
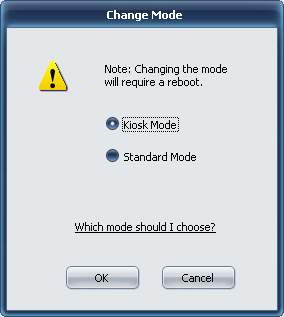
This will populate the Kiosk Mode tab. Uncheck the boxes next to Enable Remote Authentication and Kiosk Mode supports locking the workstation.
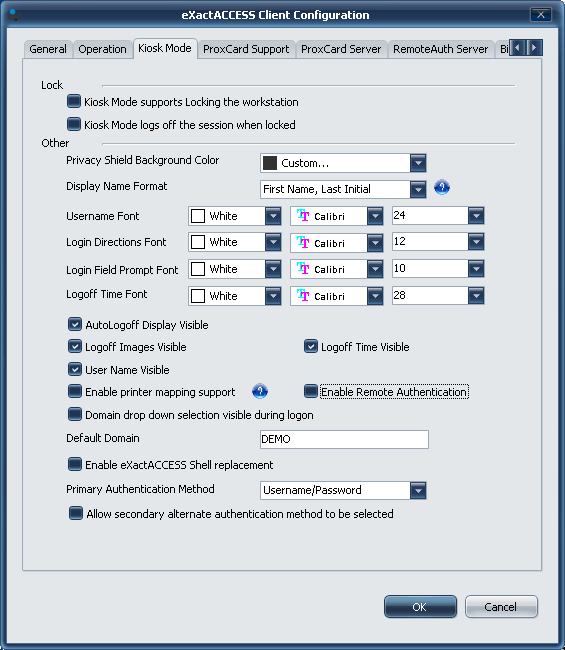
Scroll through the tabs to get to the auditSERVER tab.
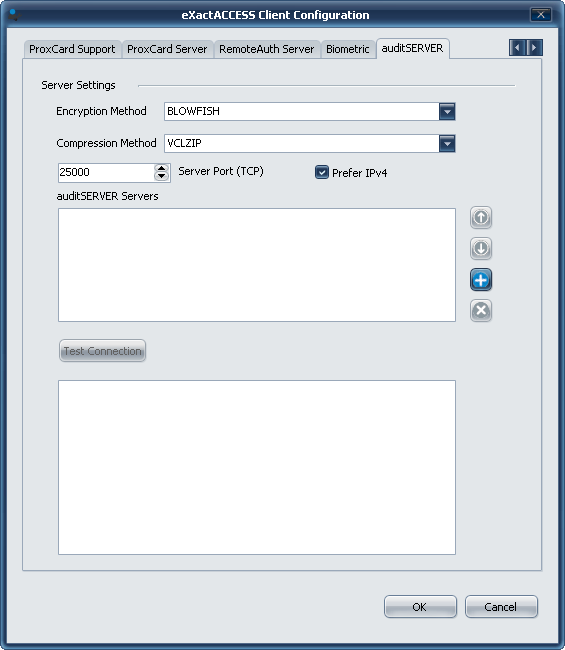
Click the (+) button to enter the name of the auditSERVER servers being added. Click OK.
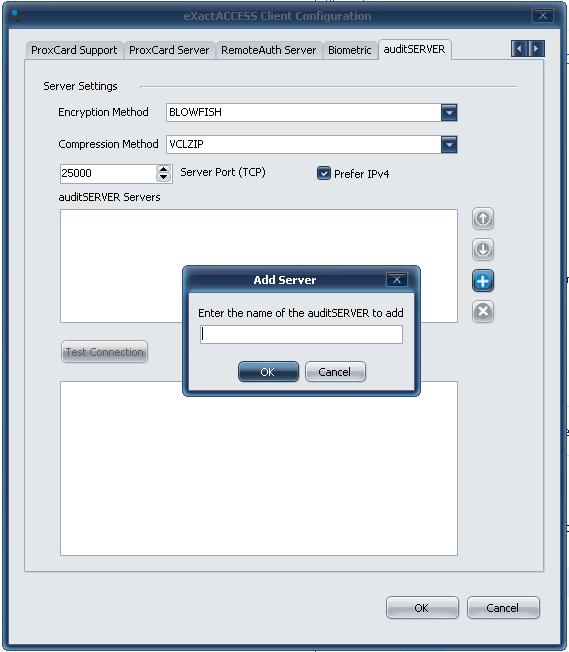
Click on Test Connection to ensure it succeeds and click OK.
Wait for the installation to complete successfully and press Finish once the Installation Completed screen populates.
Click Yes to restart the system for the changes to take affect or click No to restart later.
Once the workstation is restarted, the HealthCast ExactAccess Client will be successfully installed on Citrix.
Installing RapidIdentity EPCS Plug-in for Epic on Citrix
The RapidIdentity EPCS Plug-in for Epic file needs to be installed on Citrix. Follow these steps to install the file.
Open a command window as an administrator.
Change directory to where "RapidIdentity EPCS plug-in for EPIC x64.msi" file is located.
Run the following command line: "RapidIdentity EPCS plug-in for EPIC x64.msi" RI_APIKEY=40008a00-d066-4010-224c-01231d833006 RI_URL="https://auth01.demo.local/oneservice/ValidateService.asmx" RI_DD=demo
Note
The API key shown in this step serves as an example and is not the key that would be used in this installation. The API key is unique to each install.
Enter the API key obtained from Obtaining the API Key.
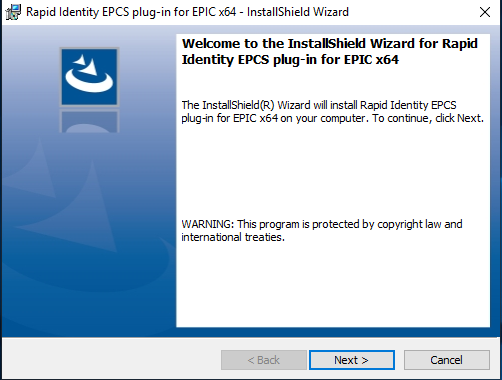
The InstallShield Wizard Welcome Screen will populate; click Next.
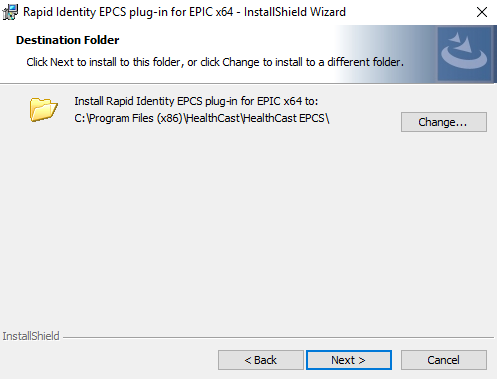
The next screen that populates is the Destination Folder. Click Next to continue or select the folder in which the plug-in will be installed and then click Next.
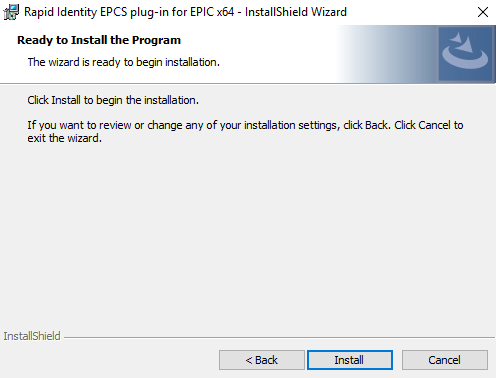
Click Install to begin this process.
The InstallShield Wizard Complete screen will appear when installation is complete. Click Finish.
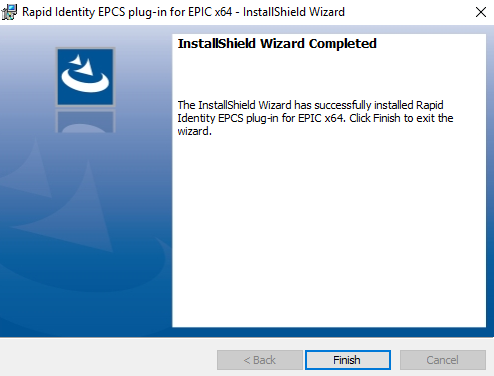
The RapidIdentity EPCS plug-in for Epic is now installed on Citrix.