Installation/Uninstall
Here are the steps to install and uninstall AD-PWR.
Installation
In order to proceed with the installation, follow these pre-installation checks and steps.
Pre-Installation Checks and Steps
Ensure the target environment meets the AD-PWR system requirements.
Ensure the target server has the required server roles and features installed.
Ensure that you have the user name and password for a user that has been granted privileges to change other users passwords. This account information is needed by AD-PWR so that it can change the password of a user during a reset event. For example, a user account that is in the domain Account Operators group is suitable for this purpose.
Ensure that you have logged into the target server system as a local administrator.
Installing AD-PWR
Locate the ADPWR-Setup.exe install file and copy it to the target server system.
Double-click the ADPWR-Setup.exe file to run the install.
If you receive a Windows® User Account Control dialog box, select Yes to continue installing.
Click Install Now to begin the installation process.
The installation progress dialog box will appear. The installation usually takes about one minute.
Click the Finish button to exit the installation Wizard and launch the AD-PWR Configuration Tool.
Perform the steps to configure AD-PWR.
Add AD-PWR to an Application Pool. AD-PWR must be in an application pool which has been configured to use .NET Framework v4.0.30319.
(Optional) You may use AD-PWR in conjunction with HealthCast's Enterprise SSO product, ExactAccess (XA) to provide password reset functionality to XA users. To do this, you must configure XA to use AD-PWR for password reset functionality.
Note
AD-PWR must be configured to require SSL connections. If you do not do this user names and passwords will be sent across the network in clear text. HealthCast will not support an AD-PWR deployment without using SSL.
Uninstall
Note
You can avoid a system reboot if you first stop the IIS Application Pool that has AD-PWR before attempting to uninstall AD-PWR.
Press Windows® key + X, then select Programs and Features.
Select AD-PWR from the list of currently installed programs and click Uninstall.
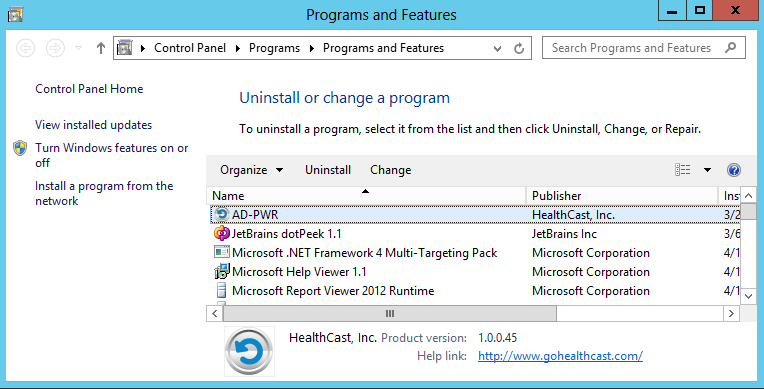
If a Windows® User Account Control box appears, select Yes to continue uninstalling A Progress dialog box will appear while the the product is uninstalling.
Click the Finish button when the uninstall wizard has completed.