Application
The Application page is used to select and configure the remote access client (Citrix, VMware, or Microsoft) QwickACCESS will use to connect to remote resources. For details, select the link below which corresponds to the remote access client that is appropriate for your environment.
 |
Application:
Citrix Applications
Important: Citrix pass-through authentication is not supported. Please configure Citrix so that pass-through authentication is not enabled.
Citrix Application connection types:
StoreFront
Important: Citrix pass-through authentication is not supported. Please configure Citrix so that pass-through authentication is not enabled.
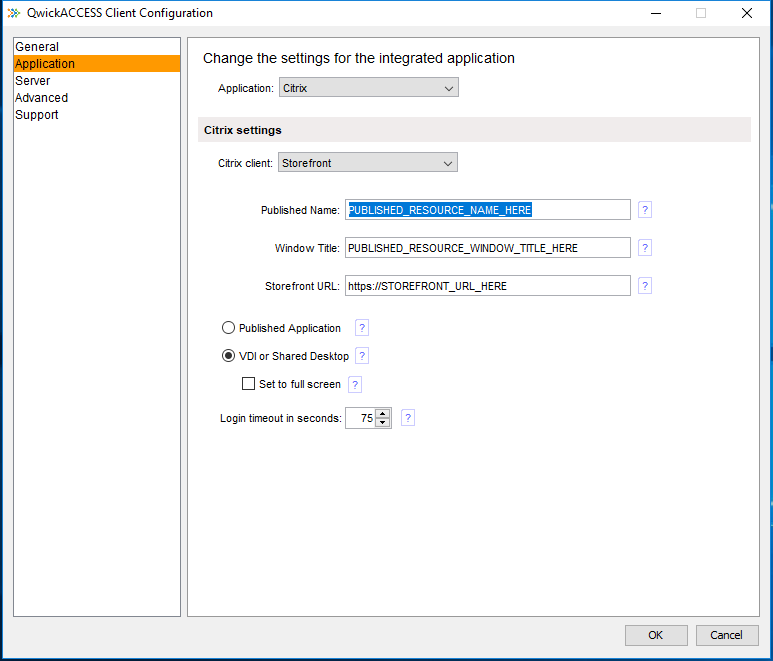 |
Citrix StoreFront Settings
Published Name:
This is the name of the resource to be launched. The same name displayed on the Citrix StoreFront Web page.
Window Title:
This is the text that appears in the title bar of the published resource. For Shared Desktops or VDI's typically the published name a space and a - is sufficient. For published applications that can launch additional windows that do not close when the app closes you can enter multiple titles to search for in a "|" delimited list for example: title1|title2|title3. QwickACCESS will remain logged in as long as a window with a title that contains one of the titles being searched for is visible.
Storefront URL:
The Receiver for Web Sites URL found in Citrix Studio under StoreFront > Stores. The correct URL when put in a browser should resolve to a Citrix StoreFront log in page.
Published Application:
If the published resource is an application i.e. Microsoft Notepad or Calculator select this option.
VDI or Shared Desktop:
If the published resource is a VDI or Shared Desktop select this option.
Set to full screen:
(This setting is only visible when the "VDI or Shared Desktop" option is selected) When checked the VDI or Shared Desktop is set to full screen. In full screen the Citrix Tool bar is hidden limiting the user to the VDI or Shared Desktop.
Login timeout in seconds:
Time, in seconds, QwickACCESS will wait for the published to open. If the published resource fails to open within the timeout QwickACCESS will be reset and the Tap your badge screen will be displayed.
Online Plugin
Important: Citrix pass-through authentication is not supported. Please configure Citrix so that pass-through authentication is not enabled.
 |
Citrix Online Plugin Settings
Auto Launch desktop:
If selected, QwickACCESS will auto launch the desktop specified in the Display name option. If you wish to have QwickACCESS automatically connect a user to a XenApp Published Desktop or XenDesktop VDI, check the “Auto launch desktop” check box. When connecting to Web Interface, the Workspace Control feature setting “Automatically reconnect to sessions when users log on” must be disabled in the PNAgent site configuration located on the Citrix Web Interface Server. This is a required setting for QAX to work properly in this configuration. This doesn’t apply when connecting to StoreFront.
Display name:
This option will only be visible if the Auto launch desktop option is selected.
If you have placed a check in the “Auto launch desktop” check box, then you must fill in the “Display name” text box with the Display Name of the desktop that QwickACCESS should launch. The Display Name is the name of the published resource users see when logging into the Citrix Online Plug-in. If you need to support multiple VDI pools, you would enter the Display name of each pool delineated by the “|”character (e.g. “VDI Pool 1|VDI Pool 2”).
Reconnect retry count:
This setting specifies how many times Online Plug-in is allowed to try to reconnect to a desktop before QwickACCESS starts a new desktop. The setting can be increased if you are experiencing multiple instance error when logging on.
Increasing this setting will delay starting the desktop if a new desktop is needed.
Receiver
Important: Citrix pass-through authentication is not supported. Please configure Citrix so that pass-through authentication is not enabled.
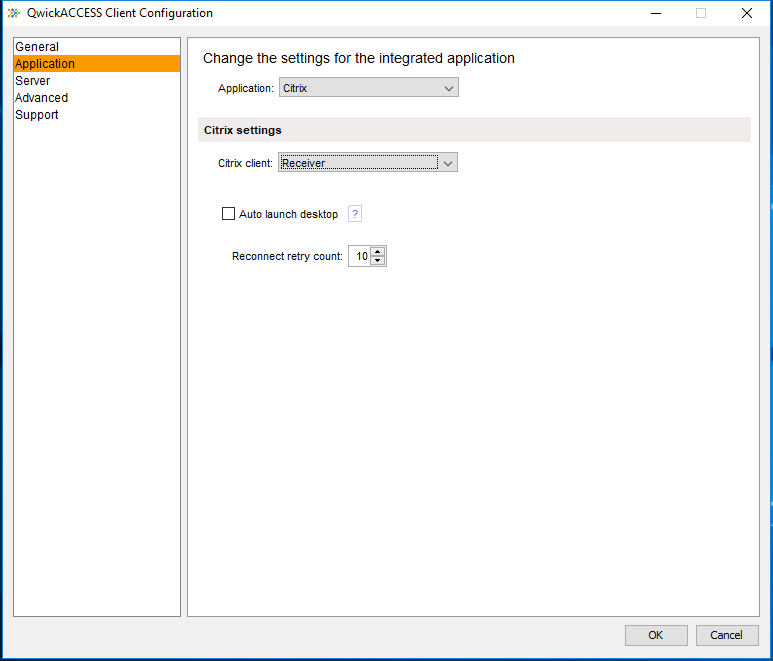 |
Citrix Receiver Settings
Auto Launch desktop:
If selected, QwickACCESS will auto launch the desktop specified in the Display name option
When using Web Interface: The Workspace Control feature setting Automatically reconnect to sessions when users log on must be disabled in the PNAgent site configuration located on the Citrix Web Interface Server. This is a required setting for QwickACCESS to work properly in this configuration. This doesn't apply when using StoreFront.
Display name:
This option will only be visible if the Auto launch desktop option is selected.
If you have placed a check in the “Auto launch desktop” check box, then you must fill in the “Display name” text box with the Display Name of the desktop that QwickACCESS should launch. The Display Name is the name of the published resource users see when logging into the Citrix Receiver. If you need to support multiple VDI pools, you would enter the Display name of each pool delineated by the “|”character (e.g. “VDI Pool 1|VDI Pool 2”).
Reconnect retry count:
How many try's QwickACCESS allows Receiver to try to reconnect to a desktop before QwickACCESS starts a new desktop. The setting can be increased if you are experiencing multiple instance errors when logging on. The default value is 10.
Increasing this setting will delay starting the desktop if a new desktop is needed.
Receiver for Web
Important: Citrix pass-through authentication is not supported. Please configure Citrix so that pass-through authentication is not enabled.
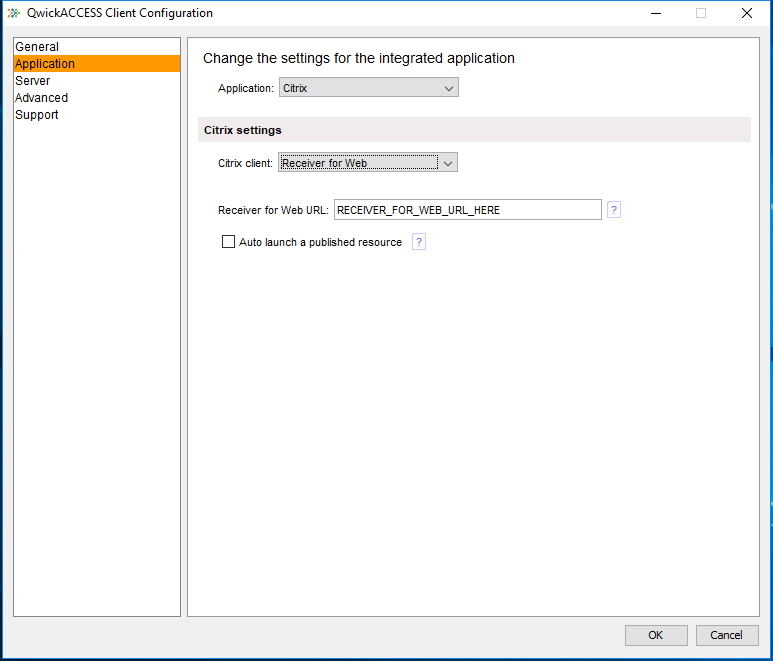 |
Citrix Receiver for Web Settings
Receiver for Web URL:
Enter the URL QwickACCESS will use to access your Citrix environment.
Auto launch a VDI:
If selected, QwickACCESS will auto launch the desktop specified in the Display name option. If you wish to have QwickACCESS automatically launch a XenDesktop VDI, check the “Auto launch desktop” check box.
Note: When using Receiver 4.1, QwickACCESS does not support auto-launching of XenApp published desktops/applications, only auto-launching of XenDesktop VDI is supported. You can use XenApp published desktops/applications without auto-launching.
Display name:
This option will only be visible if the Auto launch a VDI option is selected.
Input the name of the XenDesktop VDI that QwickACCESS is to launch upon log-on.
Web Interface
Important: Citrix pass-through authentication is not supported. Please configure Citrix so that pass-through authentication is not enabled.
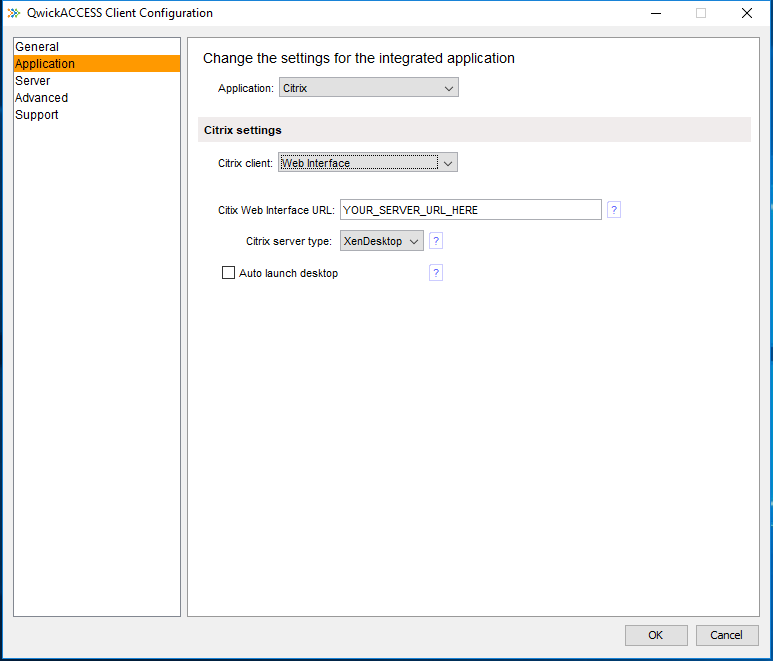 |
Citrix Web Interface Settings
Citrix Web Interface URL:
Enter the URL QwickACCESS will use to access your Citrix environment
Citrix Server Type:
Select the Citrix server type to connect to the Citrix Desktop/Application resources:
XenDesktop - connect to Citrix VDIs
Auto launch the desktop:
Select this option to have QwickACCESS launch a specific desktop on log-on
Display name:
This will only be visible if the Auto launch the desktop option is selected.
Input the path and display name of the desktop QwickACCESS is to launch upon log-on. The path must be delineated by pipes " | ". The path must include the tab, optional folder name, and display name of the VDI. For example, Desktops|MyDesktops|Win7Desktop.
XenApp - connect to hosted applications and published desktops
Auto Launch the published desktop:
Select this option to have QwickACCESS auto launch a specific desktop upon log-on
Display name:
This option will only be visible if Auto Launch the published desktop is checked.
Input the path and display name of the desktop QwickACCESS is to launch upon log-on. The path must be delineated by pipes " | ". The path must include the tab, optional folder name, and display name of the VDI. For example, Desktops|MyDesktops|Win7Desktop.
Microsoft Remote Desktop Connection
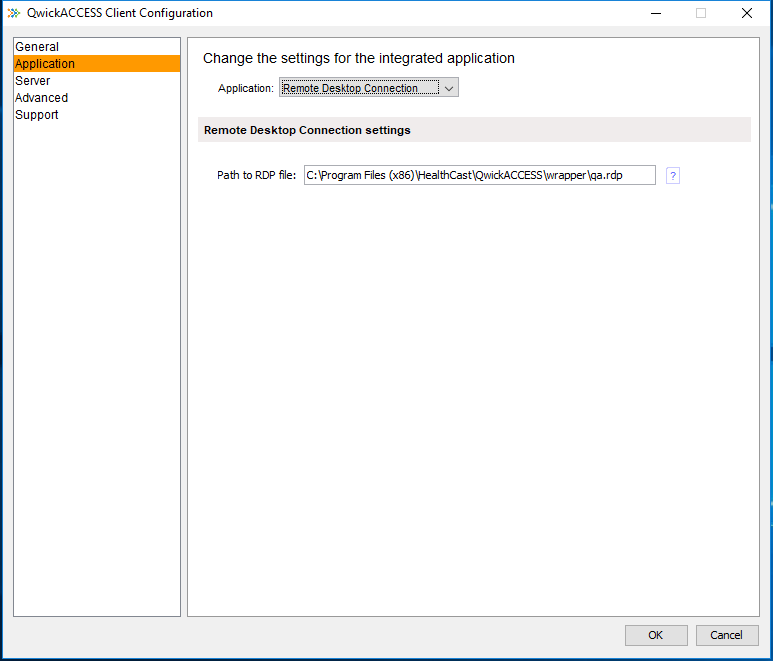 |
Microsoft Remote Desktop Connection Settings
IMPORTANT: Microsoft .Net 4.0 or greater must be installed on the end point.
To configure QwickACCESS Microsoft Remote Desktop Connection. Either edit the qa.rdp located in the *wrapper installation folder to connect the desired Microsoft Remote Desktop resource in your environment or create an .rdp file of your own to connect to the desired Microsoft Remote Desktop resource then edit the Path to RDP file setting to point to the location of your .rdp file. The .rdp file can be on a network share as long as the Windows user logged into the end point has read permissions to the share.
Please note: The configured .rdp file must at least contain a valid computer name to connect to in order for QwickACCESS to function properly. Do not fill out the User name setting in the .rdp file - the QwickACCESS user name will be added at launch time.
Path to RDP file:
Specify the path to the RDP file used by QwickACCESS to connect to the Microsoft Remote Desktop environment.
The default path: *wrapper installation folder
*wrapper installation folder:
32 bit C:\Program Files\HealthCast\QwickACCESS\wrapper\qa.rdp
64 bit C:\Program Files (x86)\HealthCast\QwickACCESS\wrapper\qa.rdp
VMware View
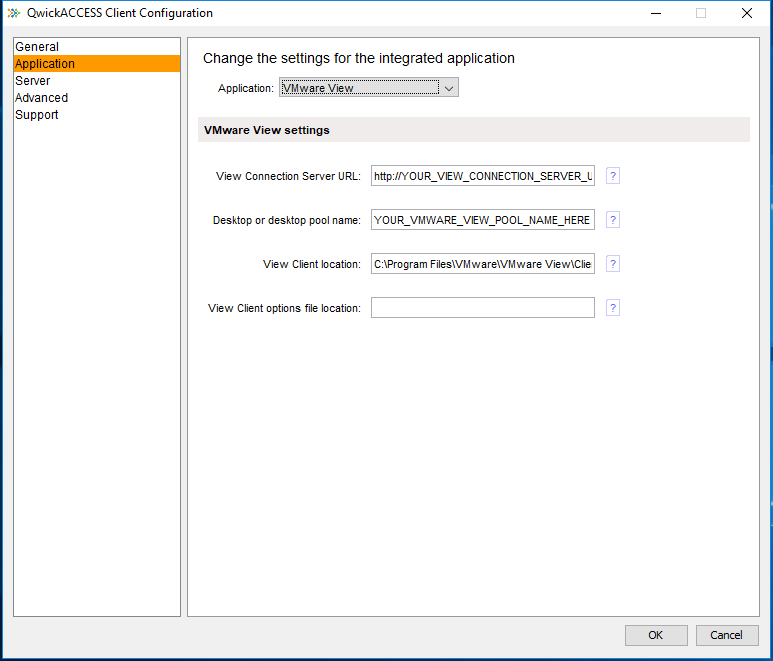 |
VMware View Settings
VMware View Connection Server URL:
Enter the URL for the VMware View Connection server in your environment. Be sure to also include the port if needed.
Desktop or desktop pool name:
Enter the name for your VMware View virtual desktop or desktop pool. This will be the desktop/desktop pool that will be used by the end-user in the VMware View environment.
VMware View Client location:
Enter the full path to the VMware View Client executable file. By default, the location given is the typical location for the VMware View Client. However, if you changed the executable file location during installation of the VMware View Client, please update it here.
VMware View Client options file location:
Additional VMware View Client command line parameters can be placed in an options file. QwickACCESS can then pass the options file to the VMware View Client when it is started. Enter here the full path of the options file that should be used. Leave this field blank if you do not wish to use an options file. Consult your VMware View Client documentation for options that are supported in your environment.
Demo App
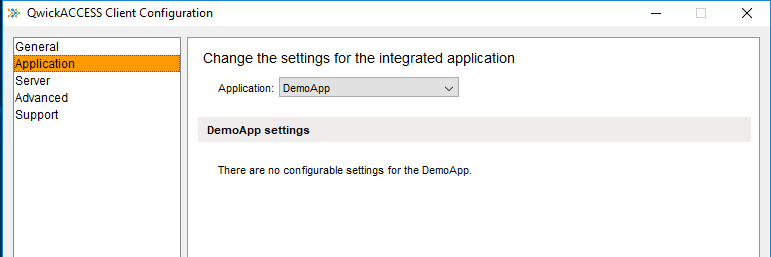 |
DemoApp Settings - The DemoApp is used for developer debugging purposes. Please contact your HealthCast representative if you need more information.