Install
Install HealthCast Lynx software in your environment
Verify that you can reach HealthCast Lynx Server from the Chrome endpoint
On the Chrome end-point, open the browser and in the address bar enter the Lynx Server address and port. For example, https://server.domain.com:8443 (be sure to use https, not http)
You should reach the login page of HealthCast Lynx without any certificate security warnings. If you do receive a certificate warning, then you must first resolve the problem before continuing.
Using Google Admin console, add QwickACCESS to your organization’s Google Account and configure it to connect to the HealthCast Lynx server
In Google Admin console, click Devices > Chrome Management (located on the left) > Apps & extensions.
Select the tab(s) from the top in which the app will be added to: Users & Browsers and/or Kiosks.

Note
Repeat the remainder of the steps under each tab that the app will need to be added to.
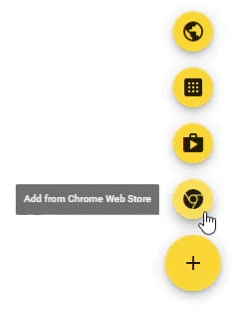
Click the yellow plus icon located at the bottom right of the screen and then select the Add from Chrome Web Store icon.
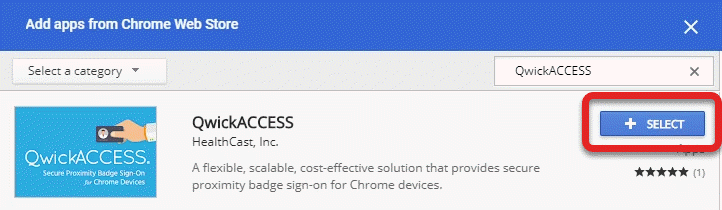
Type QwickACCESS in the Search the store search box and press Enter on the keyboard.
Click on the Select button for the QwickACCESS app.
Click User settings, or Kiosk settings
On the left, select the organization that contains the Chrome devices that you want to configure.
Kiosk vs User Policy
It is important to know where to put a policy file based on which mode the device will be in.
User Mode
If the device will be in User mode, then the policy file should be put into the same org unit that contains the users that will use the solution. This is because when a user in that org unit signs on to the device, they will then receive the policy file assigned to that org unit.
Kiosk Mode
If the device will be in Kiosk mode, then the policy file should be put into the org unit that has the device.
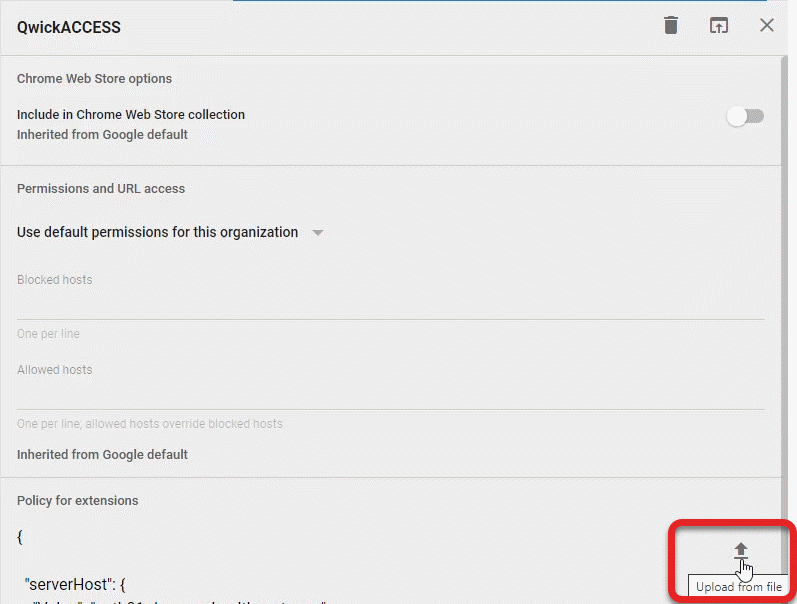
Click the Upload from file icon.
Click Force Installation to enable automatic installation.
Save changes (see Note below).
Important
It may take a few minutes for the policy that was configured in step 3 to take effect. If you launch the QwickACCESS app on the end-point before the policy has taken effect, the app will stop and show a message that it can't get the policy data.